Product Features

Technical Specifications
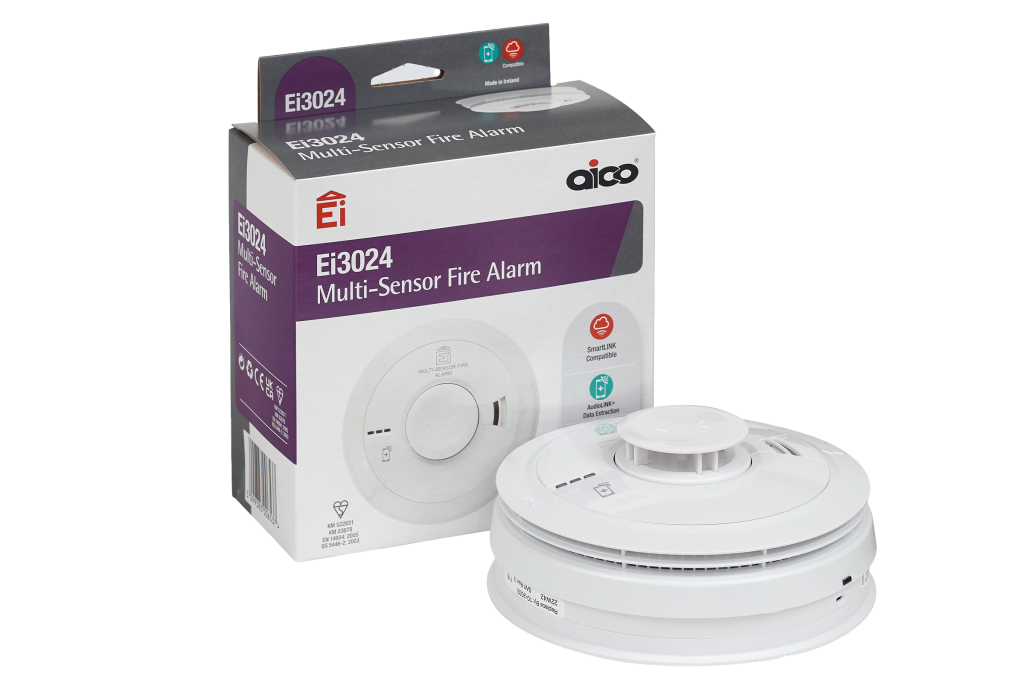
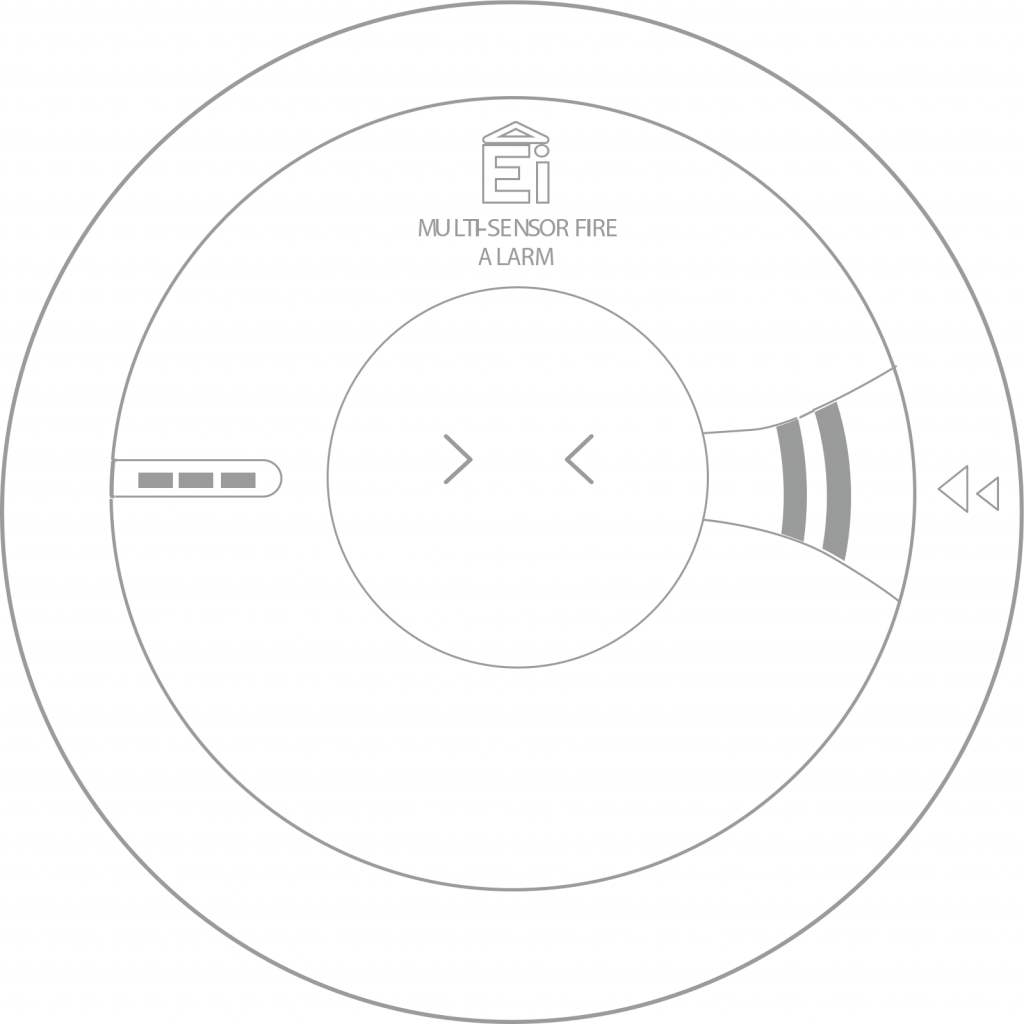
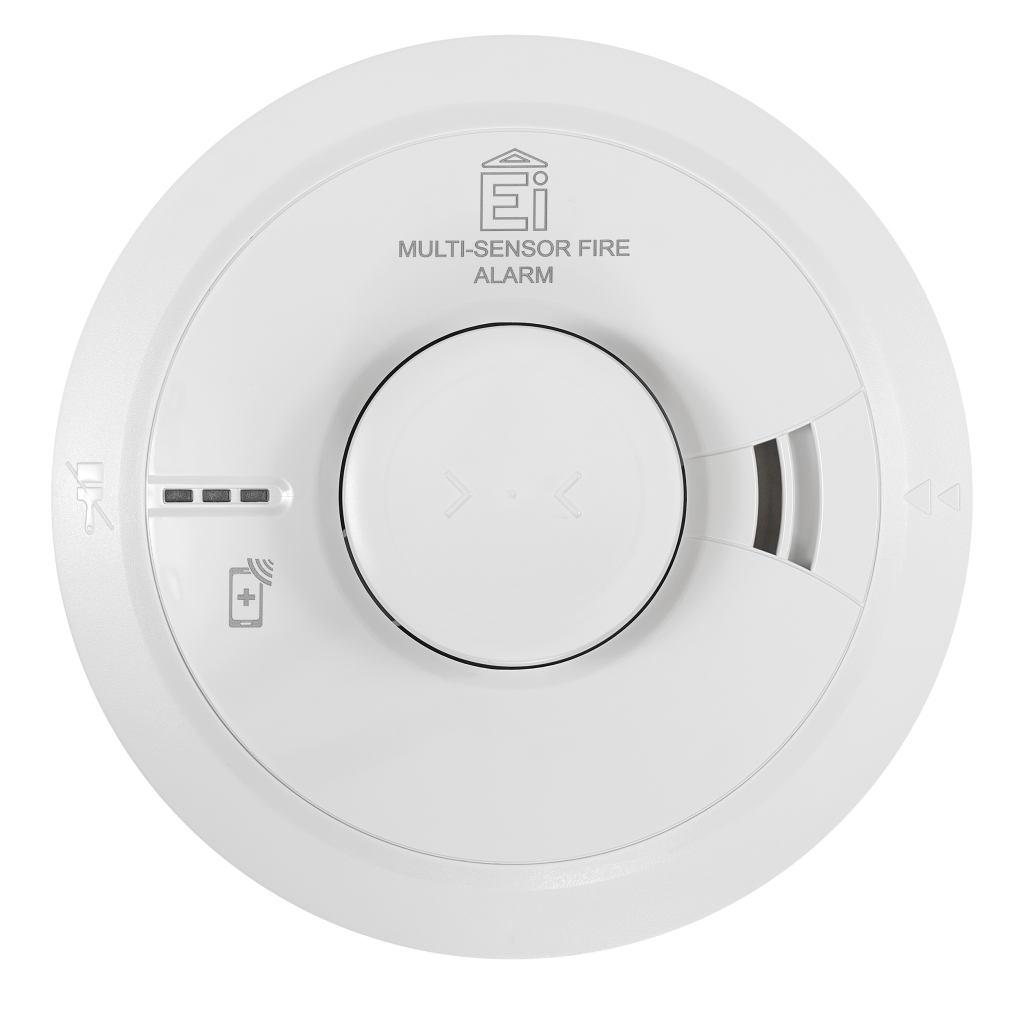
Here are the Technical Specifications for the Ei3024 Multi-Sensor Fire Alarm
Operating Temperature
The Ei3024 operates between 0°C to 40°C.
Connectivity
The Ei3024 contains AudioLINK+ technology, which allows you to extract real-time data from the alarm directly to a smartphone or tablet via the AudioLINK+ App. The alarm is also SmartLINK compatible, simply plug in an Ei3000MRF module for wireless interconnection.
Warranty
The Ei3024 Multi-Sensor Fire Alarm has a 10-year warranty.
Battery
The Ei3024 runs on 230V AC mains power. In the event of mains failure, the alarm has a 10-year built-in rechargeable lithium cell battery , which will provide a back-up supply and continuous operation.
Sensors
The Ei3024 Multi-Sensor Fire Alarm contains both Optical and Heat sensors to provide total fire coverage. Intelligent software allows it to detect all fire types surpassing traditional single sensor Alarms.
Dimensions & Weight
Product Dimensions: 150mm x 66mm
Weight: 346g

Frequently Asked Questions
Your questions answered. Browse our FAQs to find the information you are looking for.
How do I test my Fire & Carbon Monoxide Alarms?
Performing a regular test is a vital part of ensuring continued fire and carbon monoxide detection. Alarms should be tested monthly to ensure everything is working correctly.
Direct Test from the alarm
- Check that the green light on the alarm is on (this shows that it is receiving mains power).
- Press the ‘Test’ button for 10 seconds.
- The alarm will sound loudly, so that you know the alarm is functioning.
- If you have other alarms in the property, they will most likely be linked together. This means that if one alarm sounds, it will send a signal to trigger the other alarms in the property – so you can hear them sound in the background.
- Finally, repeat the above steps on all the other alarms in the property.
Using a control switch
- Press the ‘Test’ button on the alarm controller.
- The alarm will sound loudly, so that you know the alarm is functioning.
- If you have more than one alarm in the property and they are interconnected, this will also trigger all the other alarms in the property.
- If you are using an Alarm Controller Ei450 this will continue for as long as you hold down the ‘Test’ button.
- If you are using a Ei1529RC or Ei412 you will need to flick the ‘Test’ switch off to finish the test.
Why is my alarm beeping?
Never ignore a beeping alarm, as it is a warning sign of either a danger in the home or that an alarm needs maintenance.
A smoke or heat alarm is emitting a full alarm sound:
If the alarms are sounding, there may be a fire present. You should evacuate the property and be absolutely sure there is no fire before returning. If in doubt, always assume there is a real fire present and take the necessary action.
If there is no fire present:
- Find the alarm with the red light rapidly flashing. Press its ‘Hush’ button to silence. If that does not silence it, clean the alarm using a vacuum. Wait for 10 minutes and the issue should be resolved.
- Are there any cooking fumes or steam around this could be the reason behind the alarm fault – if so it may be incorrectly sited or the wrong sensor type for the area.
Regular single beep from a smoke or heat alarm:
- If it is a regular single beep (approximately once every minute), then the battery may be running low, and you may need to change the battery in the alarm. This is relevant for the 140RC Series alarms.
- If the green power light is off – contact your installer or an Expert Installer to check wiring & connections.
Irregular beep from a smoke or heat alarm:
- Clean the alarms.
- There may be an issue with the wiring – contact your installer or an Expert Installer to check wiring & connections
A Carbon Monoxide alarm is sounding:
- There is likely to be Carbon Monoxide present. Turn off any gas appliances, open windows and doors and leave the property.
- Ring the emergency number of the gas/fuel supplier.
- Do not enter the property until the alarm has stopped.
- If the alarm contains AudioLINK – Once the alarm has stopped activating and it is safe to enter the property extract a report to identify the details of the incident.
Regular single beep or irregular beep from a Carbon Monoxide alarm:
- If the green light is off, contact your installer or an Expert Installer to check the wiring & connections.
- If the alarm contains AudioLINK – extract a report to identify the details of the incident
How do I change the battery?
There are two different types of batteries used as battery back-ups in our mains powered smoke and heat alarms. Many of these are sealed in lithium cells, that last the 10-year life of the alarms. Our 140RC range contains a 9V Alkaline battery as it’s back up power supply and this will need changing across the life span of the alarm.
You will know when you need to change the battery, as you will hear a single regular beep (low battery warning) coming from the alarm, however it is recommended that you change the battery every year.
How to change the battery in 140RC Series Alarms:
- Turn off the mains power to the alarm. The green light on the alarm should go out.
- Insert a flat headed screwdriver into the removal slot of the alarm. This is marked with an arrow. Make sure you keep the screwdriver horizontal (i.e. parallel to the ceiling).
- Slide the alarm off its base and you should be able to see the 9V battery in the back.
- Replace the battery in the back of the alarm with a 9V Alkaline battery – we recommend Duracell MN 1604 or Energizer 522 batteries. Take care with the battery clip and wires as damage to these will result in constant beeps, meaning that the unit will need to be replaced.
- Slide the alarm back on its base.
- Turn the power back on. The green light on the alarm should come back on.
- Finally test the alarm to ensure the unit is working correctly.
This is relevant for the following products – Ei141RC, Ei144RC, Ei146RC.
To watch a video on how to change the battery in your alarms, click here.
How do I check the age of my alarms?
Most of our alarms have a 10-year life, after which they should be replaced to ensure you carry on getting the best protection.
Checking the date-code label:
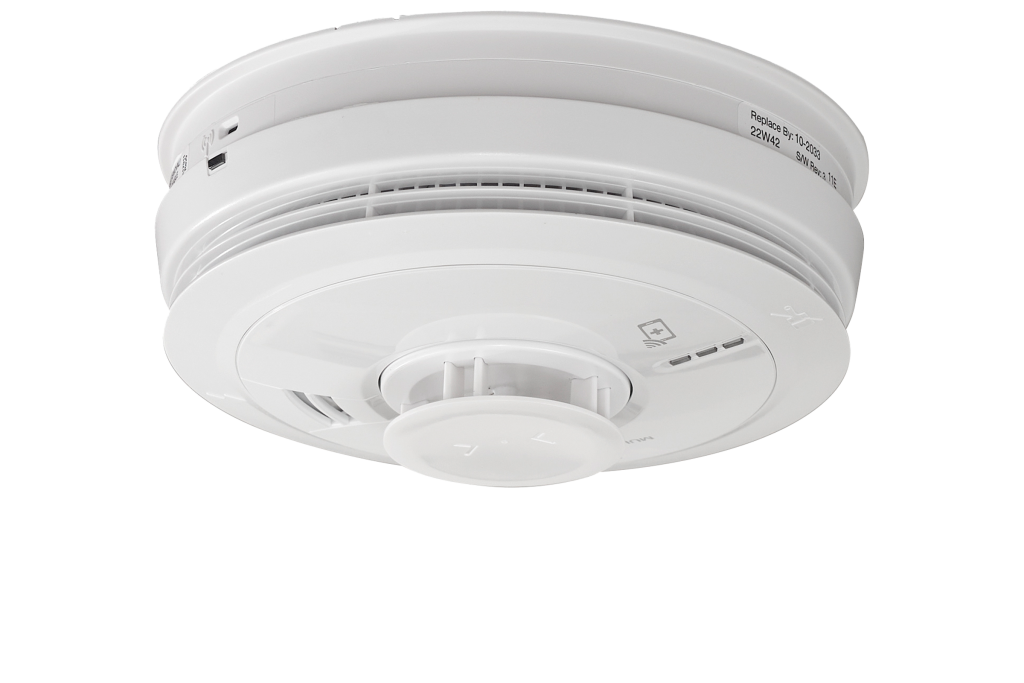
- All Aico alarms have a date-code label on the side of them which tells you exactly when the alarm was made and also the recommended replacement date.
- The four-digit code shows you the year and week that the alarm was made. The first two digits relate to the year and the second two digits relate to the week.
- Above this is the ‘Replace By’ date, but note that the date on the label shows the maximum life of the alarm and alarms should always be replaced before their life is up.
Replacing your alarm:
If your alarm is coming up to its replace by date, it should be replaced.
- The first step is to find out the model number of the alarm that you have installed.
- Once you know the model number for the alarm that you need to replace, you can use the ‘where to buy section’ to find the details of your nearest stockist who will be able to provide a replacement alarm.

